For assistance or queries, please contact us at Cadpro.
Guide 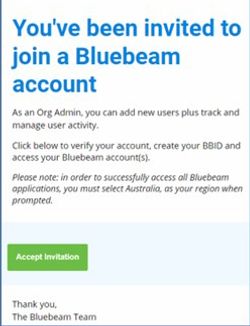


![Paul Mokler-Tibbs]()
Bluebeam Org Admin set up guide
Bluebeam recently shifted to a named-user subscription model offering dedicated access and simplified license management. Whether you're a new Bluebeam user or transitioning to subscription licenses, the set-up process and license management will now be streamlined through the Org Admin Portal.
Replacing the previous Gateway License Portal, the Bluebeam Org Admin Portal empowers administrators to efficiently oversee subscription seats, add or remove users, and assign administrative roles.
Below, we've outlined the steps you'll need to follow to set up the Bluebeam Org admin portal:
1. Check your email for your Bluebeam invitation and click the ‘Accept Invitation’ button.
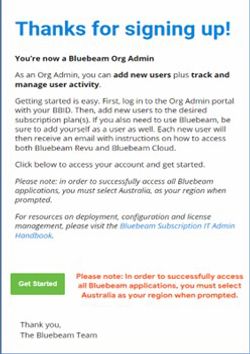
2. Once you have signed up, you will receive an email notifying you that you are now a Bluebeam Org Admin. Click ‘Get Started.’
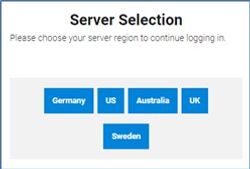
3. Select Australia for the server selection, even if you are based in New Zealand.
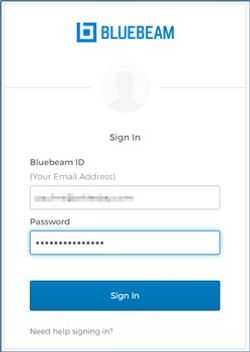
4. Sign in with your email address.
5. Sign in with your password.
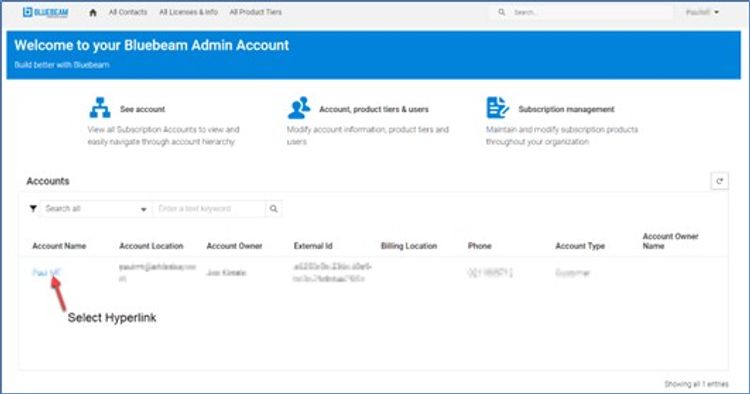
6. You are now on the Bluebeam Admin Account. Click your company name in blue.
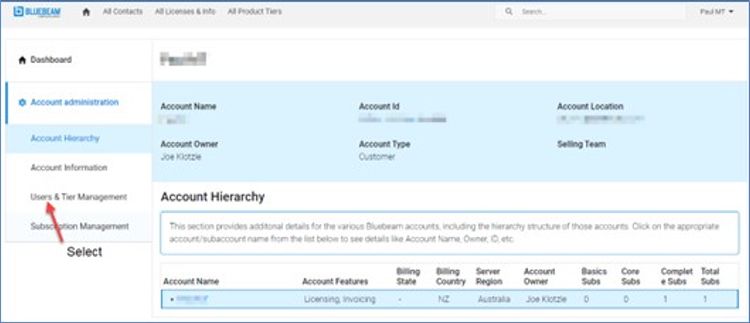
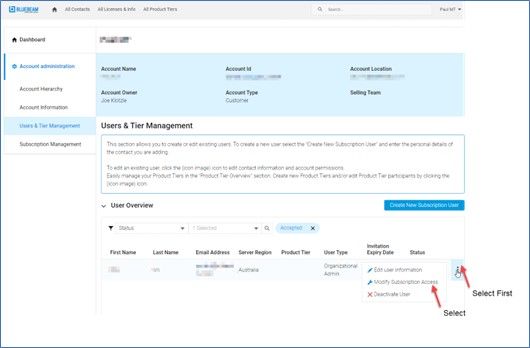
7. Click ‘Account Administration.’
8. Select ‘Users & Tier Management.’

Author
Paul Mokler-Tibbs
Training ManagerConfigurations for user setup
1. Click the three dots on the right of your name and then select 'Modify Subscription Access.'
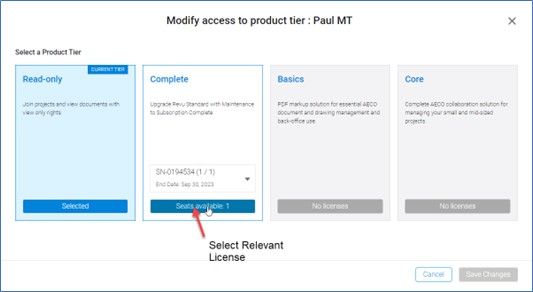
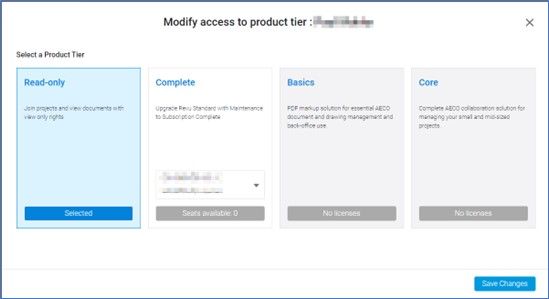
2. Select the product with a seat and click 'Seats available.'
3. You will see the license has been selected as below, select 'Save Changes.'
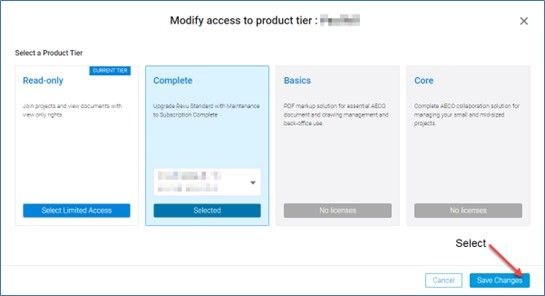
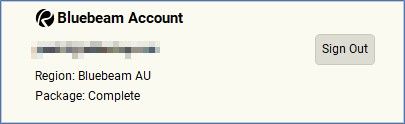
4. You will see the product tier now shows the product (Basics, Core or Complete), and the status will be accepted.

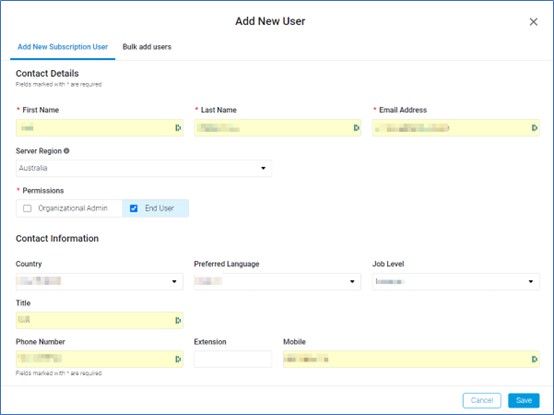
1. Click ‘Add New Subscription User.’
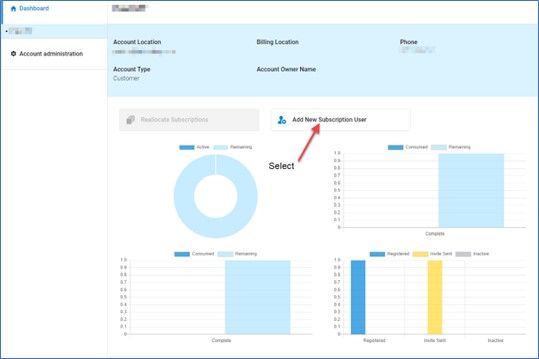
2. Enter the user’s details under the ‘Add New Subscription User’ tab:
- Select ‘End User’ (so they do not have admin rights)
- or ‘Organisational Admin’ (if you want them to have the same rights as you). Click ‘Save’
3. Select the product with available seats and select ‘Save Changes.’
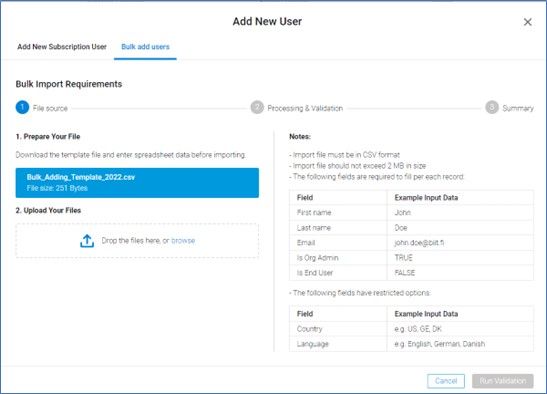
4. You can also upload an .csv file bulk import contacts.
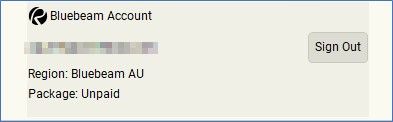
5. Ask the user to accept the invitation and check that their package now shows the product on their software.